M4A audio can be played on Mac, iOS, Windows and other major platforms, but it is not universally supported by all devices and media players like MP3 format. This tutorial will show you 5 easy ways to convert M4A to MP3 on Mac with or without Macintosh built-in Apps. You can convert multiple M4A files to MP3 in seconds with lossless quality.
 Free Download macOS 10.11 or later
 Free Download Windows 11/10/8/7
M4A is an audio-only MPEG-4 file that is encoded with AAC (Advanced Audio Coding) or ALAC (Apple Lossless Audio Codec). It’s used by Apple to download songs from Apple’s iTunes Store.
MP3 is a very popular audio format, compatible with almost all devices and players. Both M4A and MP3 are lossy audio formats and are compressed to reduce the file size for faster downloading and streaming.
So why convert M4A to MP3? The main reason is compatibility. Although M4A can maintain a good quality with a comparatively smaller size, it’s not widely supported by all devices, software and platforms like MP3 format. In this case, you can easily convert M4A to MP3 on Mac following this guide.
For batch converting M4A to MP3 on Mac while editing audio and adjusting bitrate and quality, the best option is a dedicated audio converter. My top pick is iFunia Video Converter.
This professional tool can:
Free Download macOS 10.11 or later
Step 1. Download and run iFunia Video Converter. You will see a simple interface with three tabs: Convert, Rip and Download.

Step 2. Add M4A files
Just drag and drop M4A files into the program. Or you can go to “File” from the menu bar > “Add files” to select M4A files you want to convert from your Mac.

Step 3. Choose the output format
Click “Convert all tasks to” drop-down list on the bottom of the window > select “General Audio” > choose “MP3 Audio” as the output format. You can also set different formats for each file by clicking the Format icon of each file.

Step 4. Convert M4A to MP3 on Mac
Click the Convert button in the lower right corner to starting converting. You can find the converted MP3 files by clicking the tick icon after conversion.

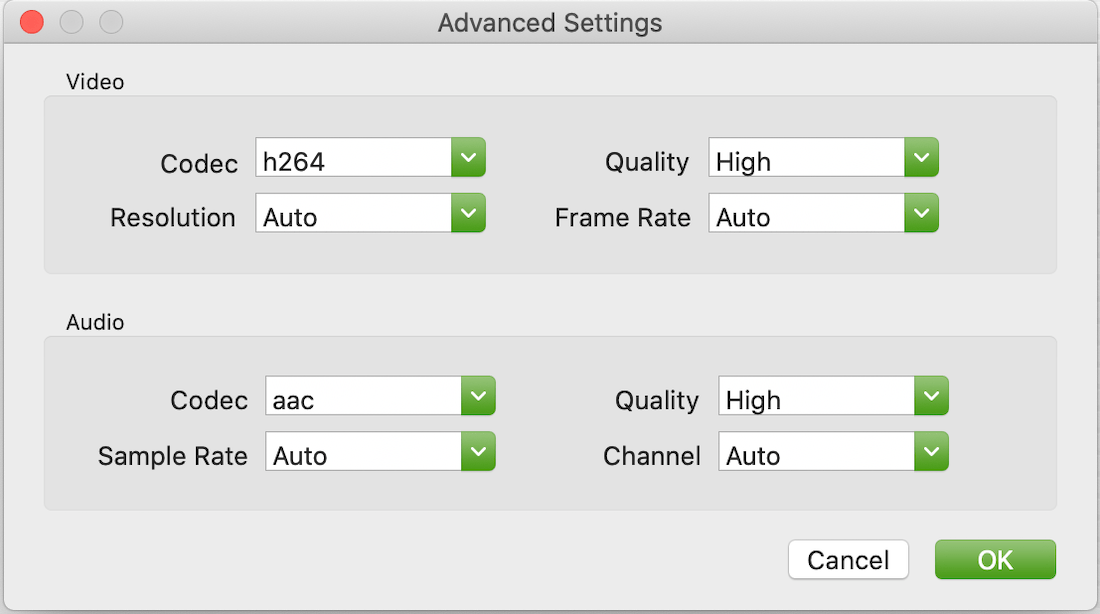
Tip: In step 3, click the gear icon next to the MP3 Audio to open Advanced Settings to customize your audio files.
Apple Music is the audio streaming service that lets you listen to over 100 million songs. Since macOS Catalina, iTunes library has been a part of Music app. You can easily convert M4A to MP3 directly on Mac using the integrated app Music.
How to convert M4A to MP3 via Apple Music on Mac:
Step 1. Open Music, choose “Music” from the top menu bar > select “Preferences”.

Step 2. In the new window, choose Files tab > click Import Settings.

Step 3. In the settings window, Choose “MP3 Encoder” for Import Using, and select the audio quality from Setting. You can choose the higher quality of 192 kbps, then click “OK” to save the settings.

Step 4. Import the M4A file(s) into Music app. Select it in library, click File from the menu bar > Convert > Create MP3 Version. Then the converted MP3 file(s) will appear in your Music library.

Although Apple Music can convert your M4A files to MP3 on Mac, it’s quite inconvenient to import M4A files and export the converted MP3 audio in library. For effective bulk conversion, use a professional converter to save your time and efforts, or you can also use Automator if you want to convert with Mac’s built-in tools.
Automator is a useful built-in app hidden in macOS to create workflows for automating repetitive tasks via point-and-click. You don’t need to master complex scripting languages, just use the hundreds of actions available in the Automator library to create a simple or advanced workflow, such as an automated M4A to MP3 workflow.
How to convert M4A to MP3 in one click using Automator:
Step 1. Open Automator on your Mac, select Workflow to create a new workflow that can run within Automator, click Choose.
You can find Automator via Finder > Applications.

Step 2. Add actions to the workflow.
In the Library column on the left, choose “Music” category > double-click “Import Audio Files” to add it to the workflow > select “MP3 Encoder” from the Using menu.
 Then select “Files & Folders” category > select and double-click “Copy Finder Items” to add it to the workflow. This action can save your converted MP3 files to the desktop or any other location you specify.
 Step 3. Drag the M4A files you want to convert to the front of the actions, then click the “Run” button to start converting to MP3 in the workflow. You can check the Log at the bottom of the window to see if the workflow’s been completed successfully.

Pro tip: You can also save this workflow as a desktop application , so you can convert M4A files to MP3 by simply dragging and dropping.
If you have VLC media player on your Mac, you can use its conversion function to convert M4A to MP3 on Mac. However, it can only convert one at a time, not in a batch process.
How to convert M4A to MP3 with VLC media player:
Step 1. Launch VLC, click File > Convert/Stream from the menu bar.

Step 2. Drag the M4A file you want to convert into the window, or click “Open media” to browse and add it. Then select “Audio - MP3” in the Choose Profile drop-down list. You can click the Customize button to change parameters such as encoder and bitrate.
Step 3. Click Browse to set the file name and save location, then click "Save" to start converting M4A to MP3 on Mac.

Note: If you find that the converted file is not MP3 format but a textedit file, you may need to manually add the .mp3 extension to the filename in step 3.
Online M4A to MP3 converters can be a good option if you don’t want to use any software. Most of these online tools are free to use, but come with limitations on the number or size of files.
Convertio.co is one of the best online M4A to MP3 converters for Mac, supporting file conversion between hundreds of formats. But it should be noted that it only allows you to convert up to 2 M4A files at a time, up to 10 files per day,
How to convert M4A to MP3 online:

Step 1. Visit Convertio.co/mp3-converter in a web browser.
Step 2. Add files (under 100mb). Drag and drop your M4A files or input from Dropbox and Google Drive.
Step 3. Choose MP3 as the output format. You can click the Settings icon to trim the audio and change the bitrate.
Step 4. Click the Convert button to start the conversion.
Step 5. Download the converted MP3 file.
In summary, considering the efficiency, speed and stability, we’re convinced that iFunia Video Converter is an ideal choice, especially suitable for batch conversion and audio customization. Apple Music and Automator can also batch convert M4A to MP3 without editing. VLC and online converters are better for one-time conversion needs of small files.
With the 5 methods to choose from, you can convert M4A to MP3 on Mac in the way that suits you best.
1. The quality will be reduces while converting M4A to MP3?
Converting a lossy audio format like M4A to another lossy format can result in quality loss. To minimize the loss, use a professional audio converter and choose a higher quality such as 192 kbps or higher, then the quality loss will be unnoticeable.
2. Which has better sound quality, M4A or MP3?
The answer depends. AAC encoded M4A files is quite similar to MP3 as a compressed encoding format, it may provide a better quality in the same or even smaller file size than MP3. While the ALAC encoded lossless M4A file will have a better sound quality and also a larger file size.
3. How to convert M4A to MP3 in iTunes?
For macOS before Catalina, you can convert M4A to MP3 with iTunes on Mac, which is very similar to the operation using Music app.

Chloe LEE is good at explaining and solving complex technology problems to her readers. Since joining iFunia Studio, she has focused on writing articles about video and DVD software, and how-to tutorials.