
Have you recently finished editing a captivating video in iMovie and are now eager to share it with others with DVDs? Look no further! This guide will show you how to seamlessly burn your iMovie projects to DVD on Mac or Windows PC.
To accomplish this task, you’ll need a reliable DVD authoring software like iDVD (Apple’s discontinued app) or a third-party alternative like iFunia DVD Creator. However, if you intend to play the DVD on computers or other devices that support MP4 files, you can easily use the built-in burning functions on your computer. Read on for step-by-step instructions with pictures.
 Free Download macOS 10.11 or later
 Free Download Windows 11/10/8/7
iMovie is a free video editing app made by Apple and is available for use on Mac, iPhone and iPad. Before burning your iMovie project to DVD, you need to export it as a video file. Follow steps below to export your project on Mac or mobile devices:
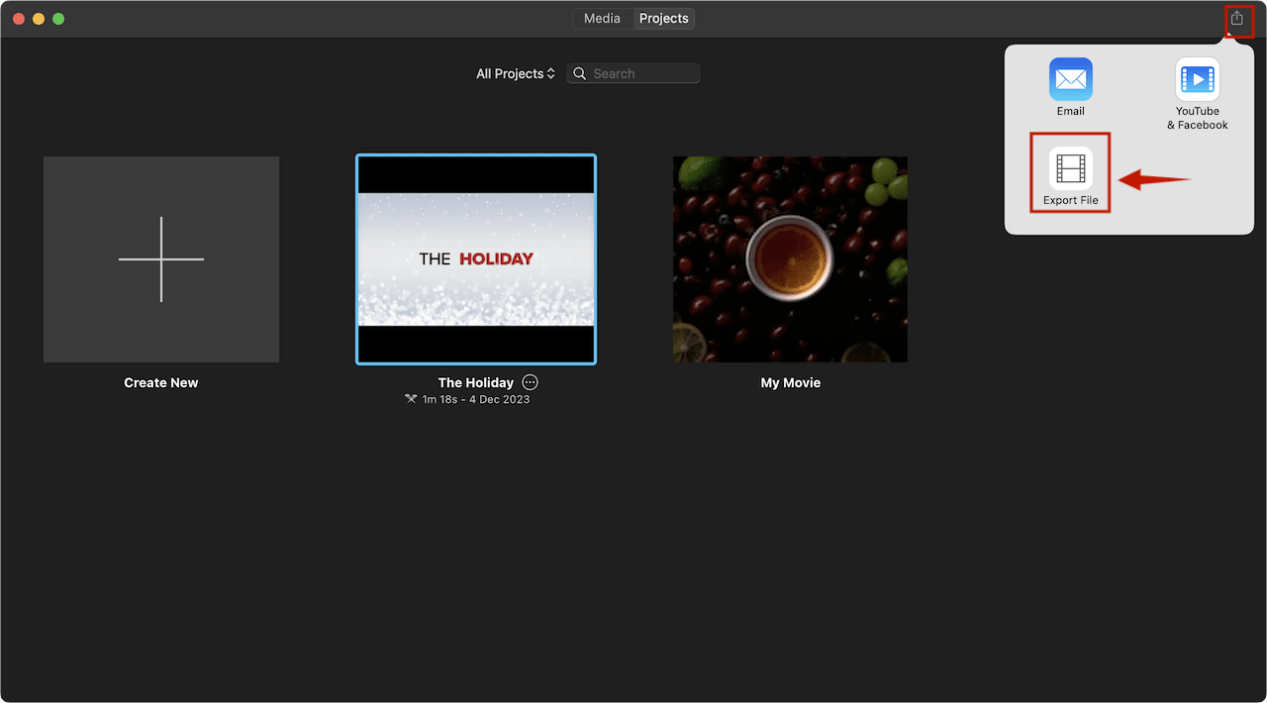
1. Open iMovie and select the project you wish to burn.
2. Click the export icon in the upper right corner and select “Export File” option to proceed. Alternatively, you can also go to the menu bar and select File > Share > File.
3. In the pop-up File window, you can choose the video resolution, quality and format (Video and Audio or Audio Only). The file size corresponding to each option will be displayed in the lower left.
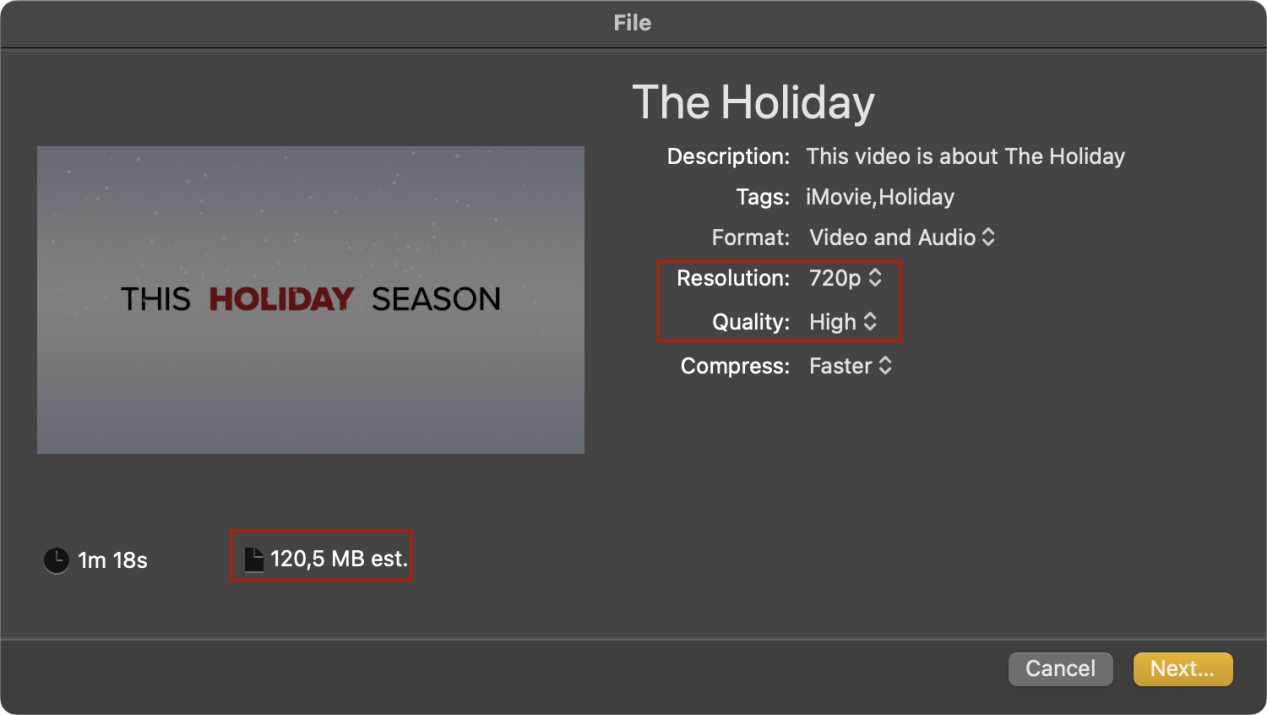
4. Click on the Next button to designate a destination to save the video, and then click Save to start exporting your iMovie project.
Tip: The progress of the export will be shown in the top right corner of iMovie interface.
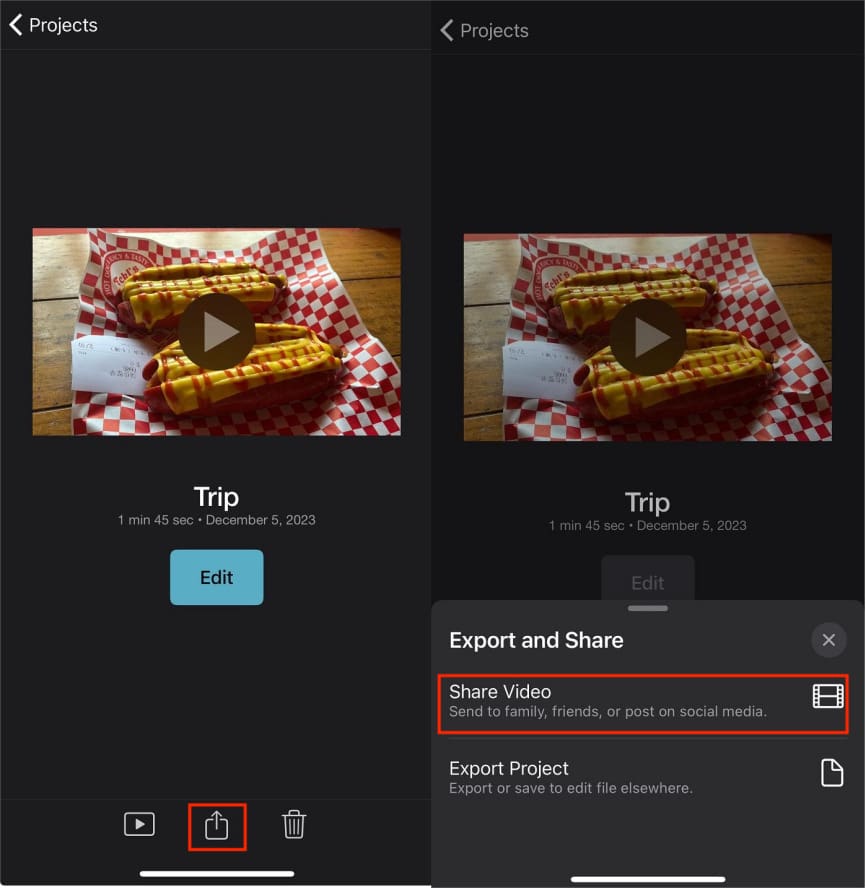
1. Open the project you want to burn in iMovie, and tap the Share icon at the bottom of the screen.
2. Choose the first option “Share Video” to export it as an MP4 video file and send to your computer. You can also choose “Export Project” if you want to continue editing the file on Mac or elsewhere.
After you exported the iMovie project to an MP4 video file, you can proceed to burn it onto a DVD. You can either choose a dedicated DVD authoring software with custom options, or use Burn for OS X, a freeware with rudimentary functions.
There are tons of third-party DVD burning/authoring software on the market, and it’s hard to tell which ones are safe, legit and truly capable. To help get your money’s worth, we’ve tested dozens of apps for functionality, output quality and more. And my recommendation for burning iMovie to DVD is iFunia DVD Creator, a lightweight yet professional DVD authoring software.
Highlight features of the best iMovie to DVD burner:
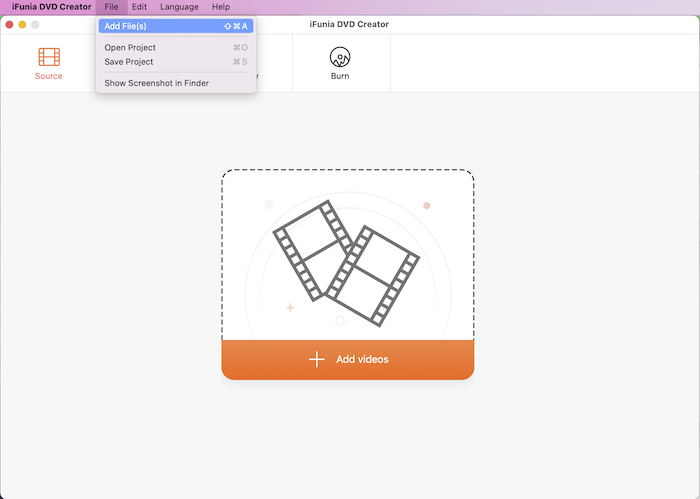
1. Download, install and launch iFunia DVD Creator.
Free Download macOS 10.11 or laterFree Download Windows 11/10/8/7
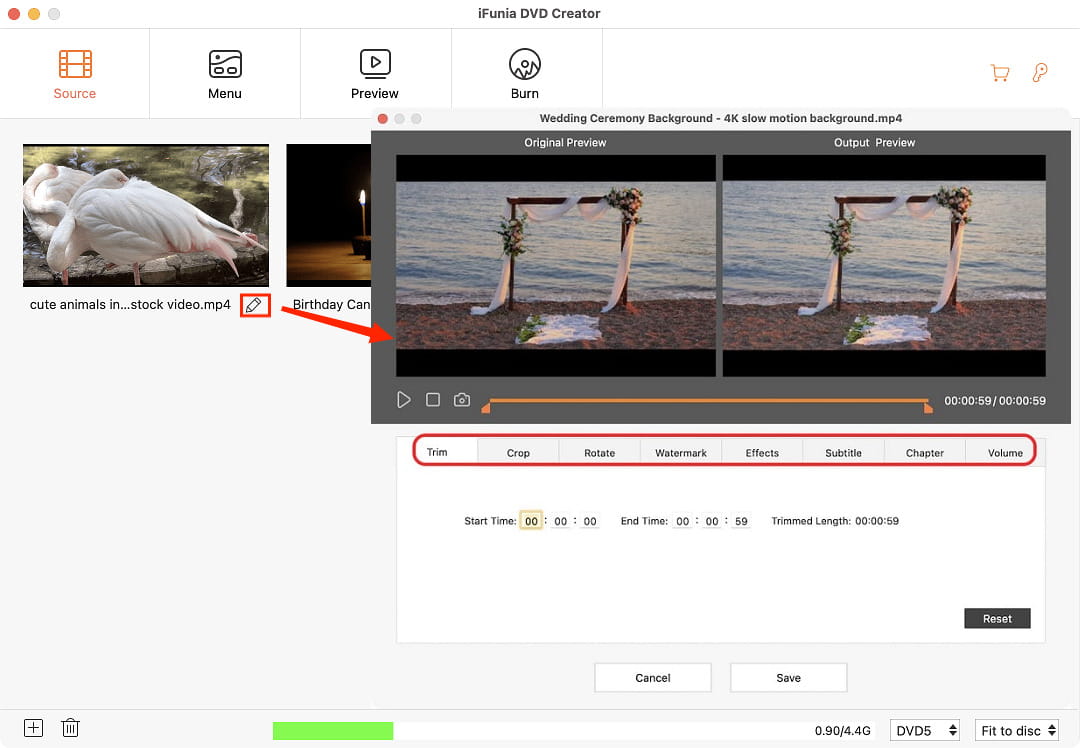
2. Drag and drop the iMovie video(s) you exported in Part 1 to the app, or you can click the “Add videos” button to browse and load the videos.
Pro Tip: Click the pencil-like icon to edit the iMovie video if necessary.
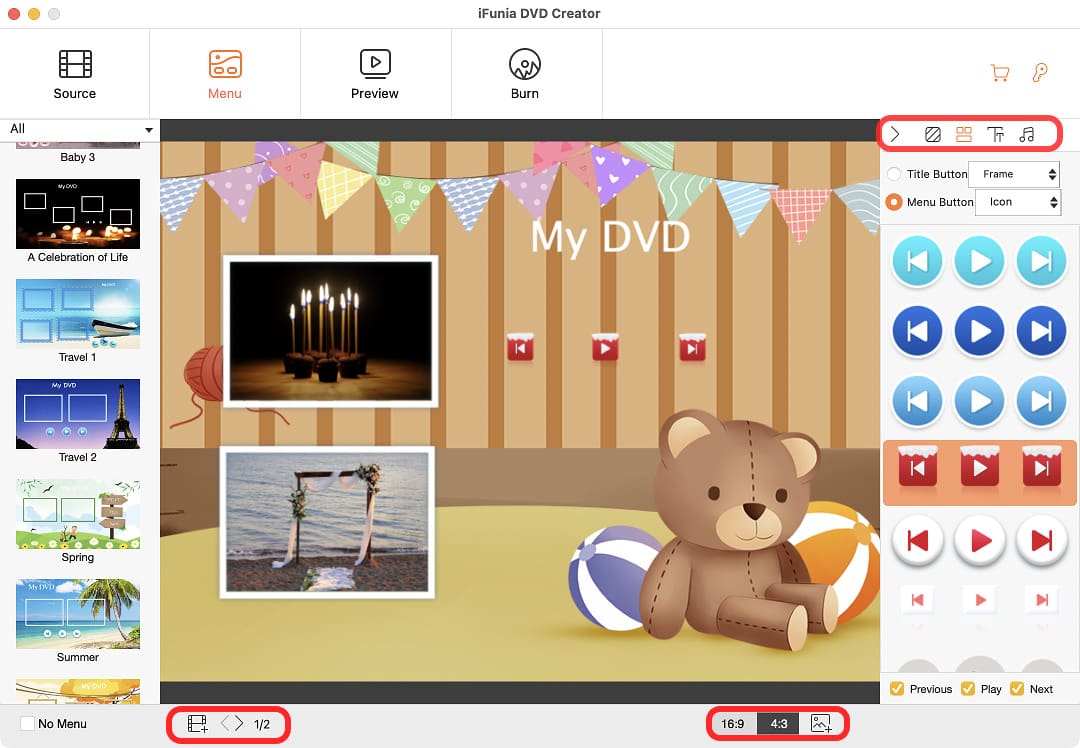
3. Go to the Menu tab to create a DVD menu.
4. Click the Preview tab to check if the menu and video titles plays as desired. Otherwise you can go back to reset.

5. Click the Burn tab to set burning settings.

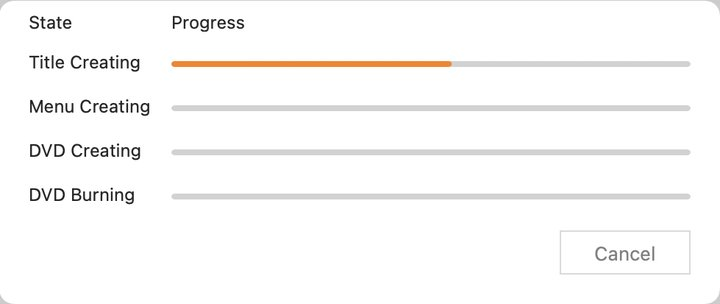
6. Click “Burn” button to start the process of burning iMovie to DVD. The duration will depend largely on the size of the iMovie file.
Once it finished, you can launch the DVD Player application on Mac and it should be able to detect the DVD you just burned and automatically play it. (I won't put picture here because Macs don't allow to make screenshots of a DVD movie.)
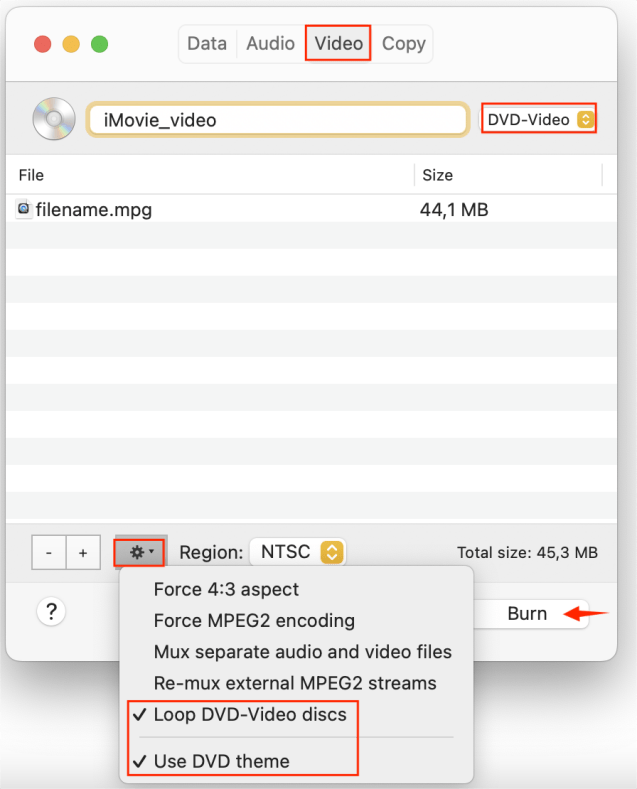
Burn is a free and open source disc burning tool for Mac. As simple as its name, Burn offers a primitive interface and rather basic features. You can use Burn to convert iMovie to DVD for playback on DVD players or create ISO image files and data DVDs, but this app won’t allow DVD menu custom.
 FYI, this is how the DVD menu provided by Burn looks like:
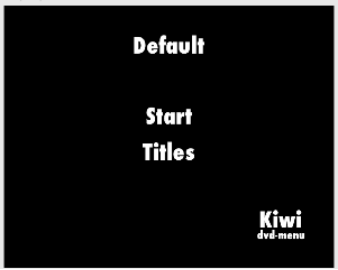
Set the write speed in the pop-up window. 4x is commonly used option for most DVDs.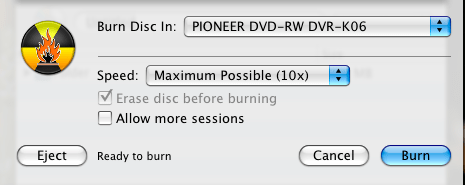
When finished, you can also play the DVD with DVD Player app on Mac to play it and verify the content.
If you only need to play the DVD on computers, you can burn a data DVD using the native burning functions of your computer’s OS, no need for additional software. A data-DVD functions as a disk-shaped hard drive that stores and backup video or other files, so the video won’t be converted or resized to the DVD format.
Finder is the default file manager used on all Macs. You can open a blank DVD disc in Finder and put your iMovie video or any file on it to back-up and store them permanently. How it works:

Rename the disc and set a burn speed (e.g., 4x) in the pop-up, then hit “Burn”.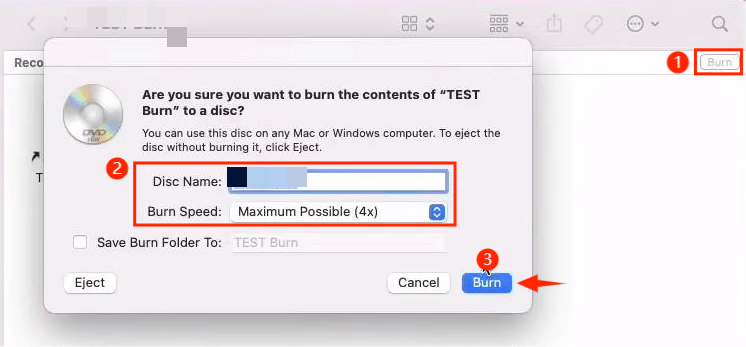
If you have exported your iMovie projects in the “Audio Only” format, you can also burn the audio files as an audio CD using Apple Music/iTunes. And most regular DVD players can read and play it smoothly.

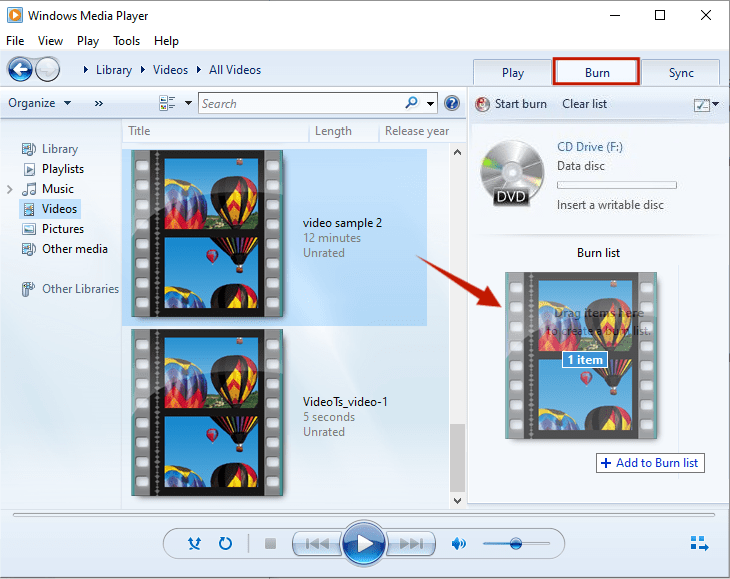
Windows Media Player comes with all Windows OS and allows to burn a data DVD or audio CD from iMovie files.


![]() Note: Like playable DVDs, data DVDs will be finalized and files cannot be edited or removed after recording.
Note: Like playable DVDs, data DVDs will be finalized and files cannot be edited or removed after recording.
To summarize, there are two recommended methods to burn a playable DVD from iMovie. Burn for Mac is a simple and efficient option for burning a simple DVD without customizable menus. On the other hand, iFunia DVD Creator offers more helpful features, such as real-time preview, menu customization, high-quality/compressed modes for a personalized and successful DVD burning.
By following this comprehensive guide, you can now showcase your iMovie project on any DVD player and share your creativity in a tangible way with friends and relatives. Start burning your iMovie projects today and enjoy the satisfaction of sharing your work in a physical format.

Chloe LEE is good at explaining and solving complex technology problems to her readers. Since joining iFunia Studio, she has focused on writing articles about video and DVD software, and how-to tutorials.


Avenue 17
Bravo, this remarkable phrase is necessary just by the way
avenue17
Things are going swimmingly.
virtual local numbers
It is remarkable, very useful message