Summary:
Step 1: Choose the right WAV to MP3 converter. Two popular choices for Mac are iTunes (now Apple Music) and a dedicated media converter like iFunia Video Converter.
Step 2: Import WAV files. Add the WAV files you want to convert to the chosen converter tool, usually drag and drop will do.
Step 3: Configure output settings. Most of the converters allow users to personalize the audio quality and other settings. If available, select a constant bitrate (CBR) of 320 kbps to maintain the highest quality.
Step 4: Convert WAV to MP3. Click on a Convert or similar button to start the conversion progress.
Read on for detailed tutorials.
WAV is a lossless audio format that keeps the original sound quality, hence it requires more space to store all the information. While MP3 is a format that produces much smaller file size. So, this makes many people want to convert WAV to MP3. However, a good converter is essential as there may be quality loss while converting from a lossless format to a lossy format. So, let's discover 5 best ways to change WAV to MP3 on mac while keeping the quality.
iFunia Video Converter is a professional video and audio converter known for its great processing speed and batch covnert feature. It supports conversion between almost all video/audio formats, including WAV, MP3, Apple Lossless, FLAC, M4A and more. It sets the best quality output profile by default so even beginners can convert WAV to MP3 in the highest quality without tweaking advanced settings. It also allows you to trim each clip, adjust the volume and merge multiple files if desired.
1. Download iFunia Video Converter for Mac by clicking the button below.
 Free Download macOS 10.11 or later
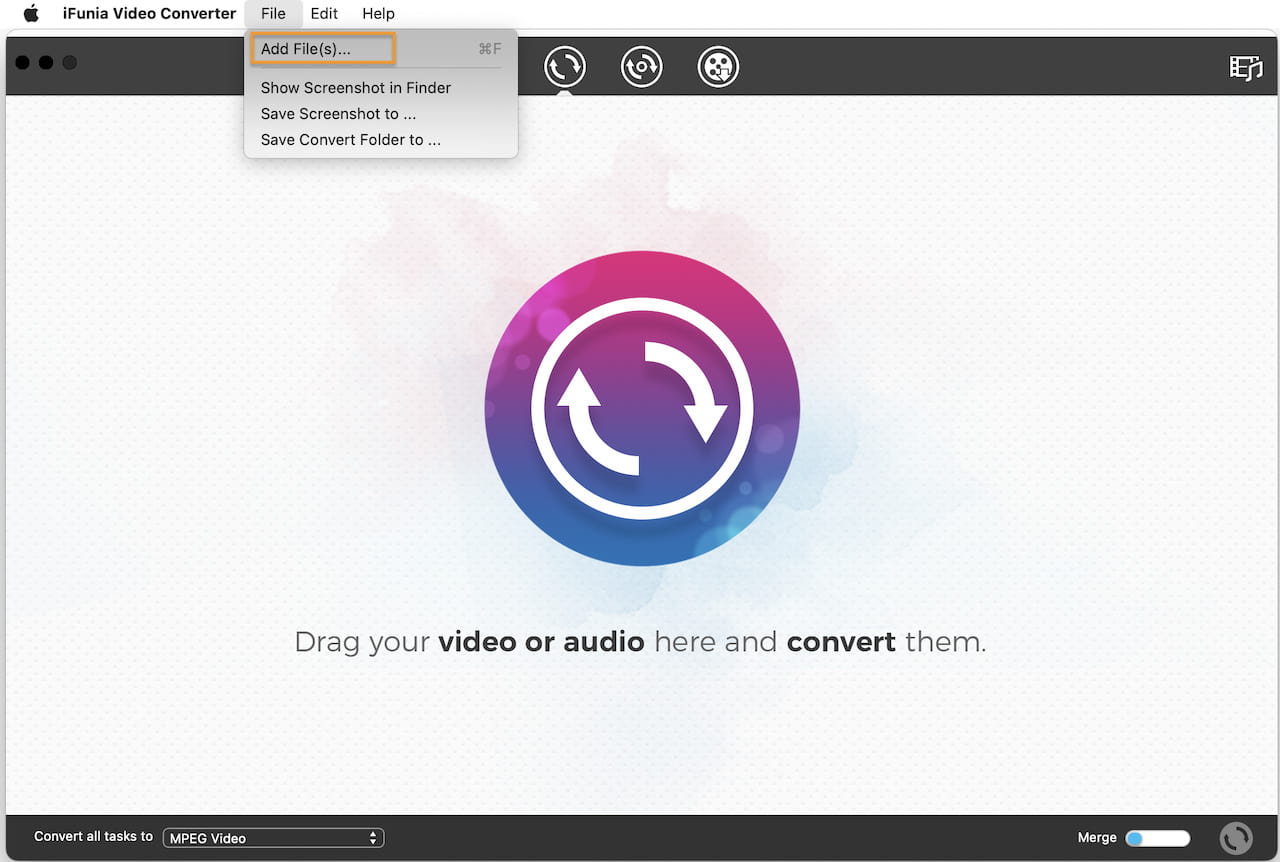
2. Drag and drop your WAV audio files to the program. Alternatively, go to the File menu and select "Add File(s)...". Here you can click "Save Convert Folder to..." to specify a save folder for output files.
3. Set MP3 as the output format. Click "Convert all tasks to" at the bottom left and switch to the "General Audio" tab in the pop-up window, then select "MP3 Audio" from the list.
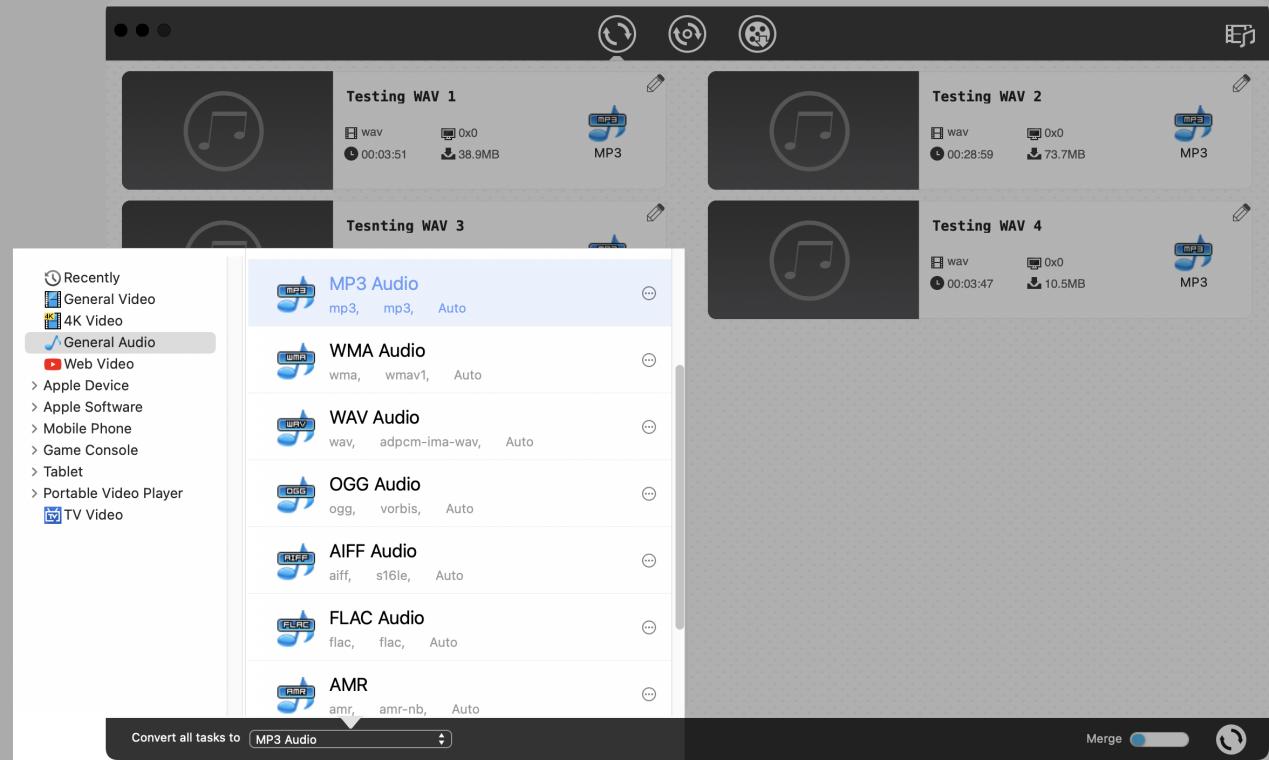
This tool will convert WAV to MP3 with the best quality by default (320 Kbps). If you want to degrade a little bit the quality to have a smaller file size, click the three-dot icon  to access the Advanced Settings window, where you can change the audio quality and sample rate.

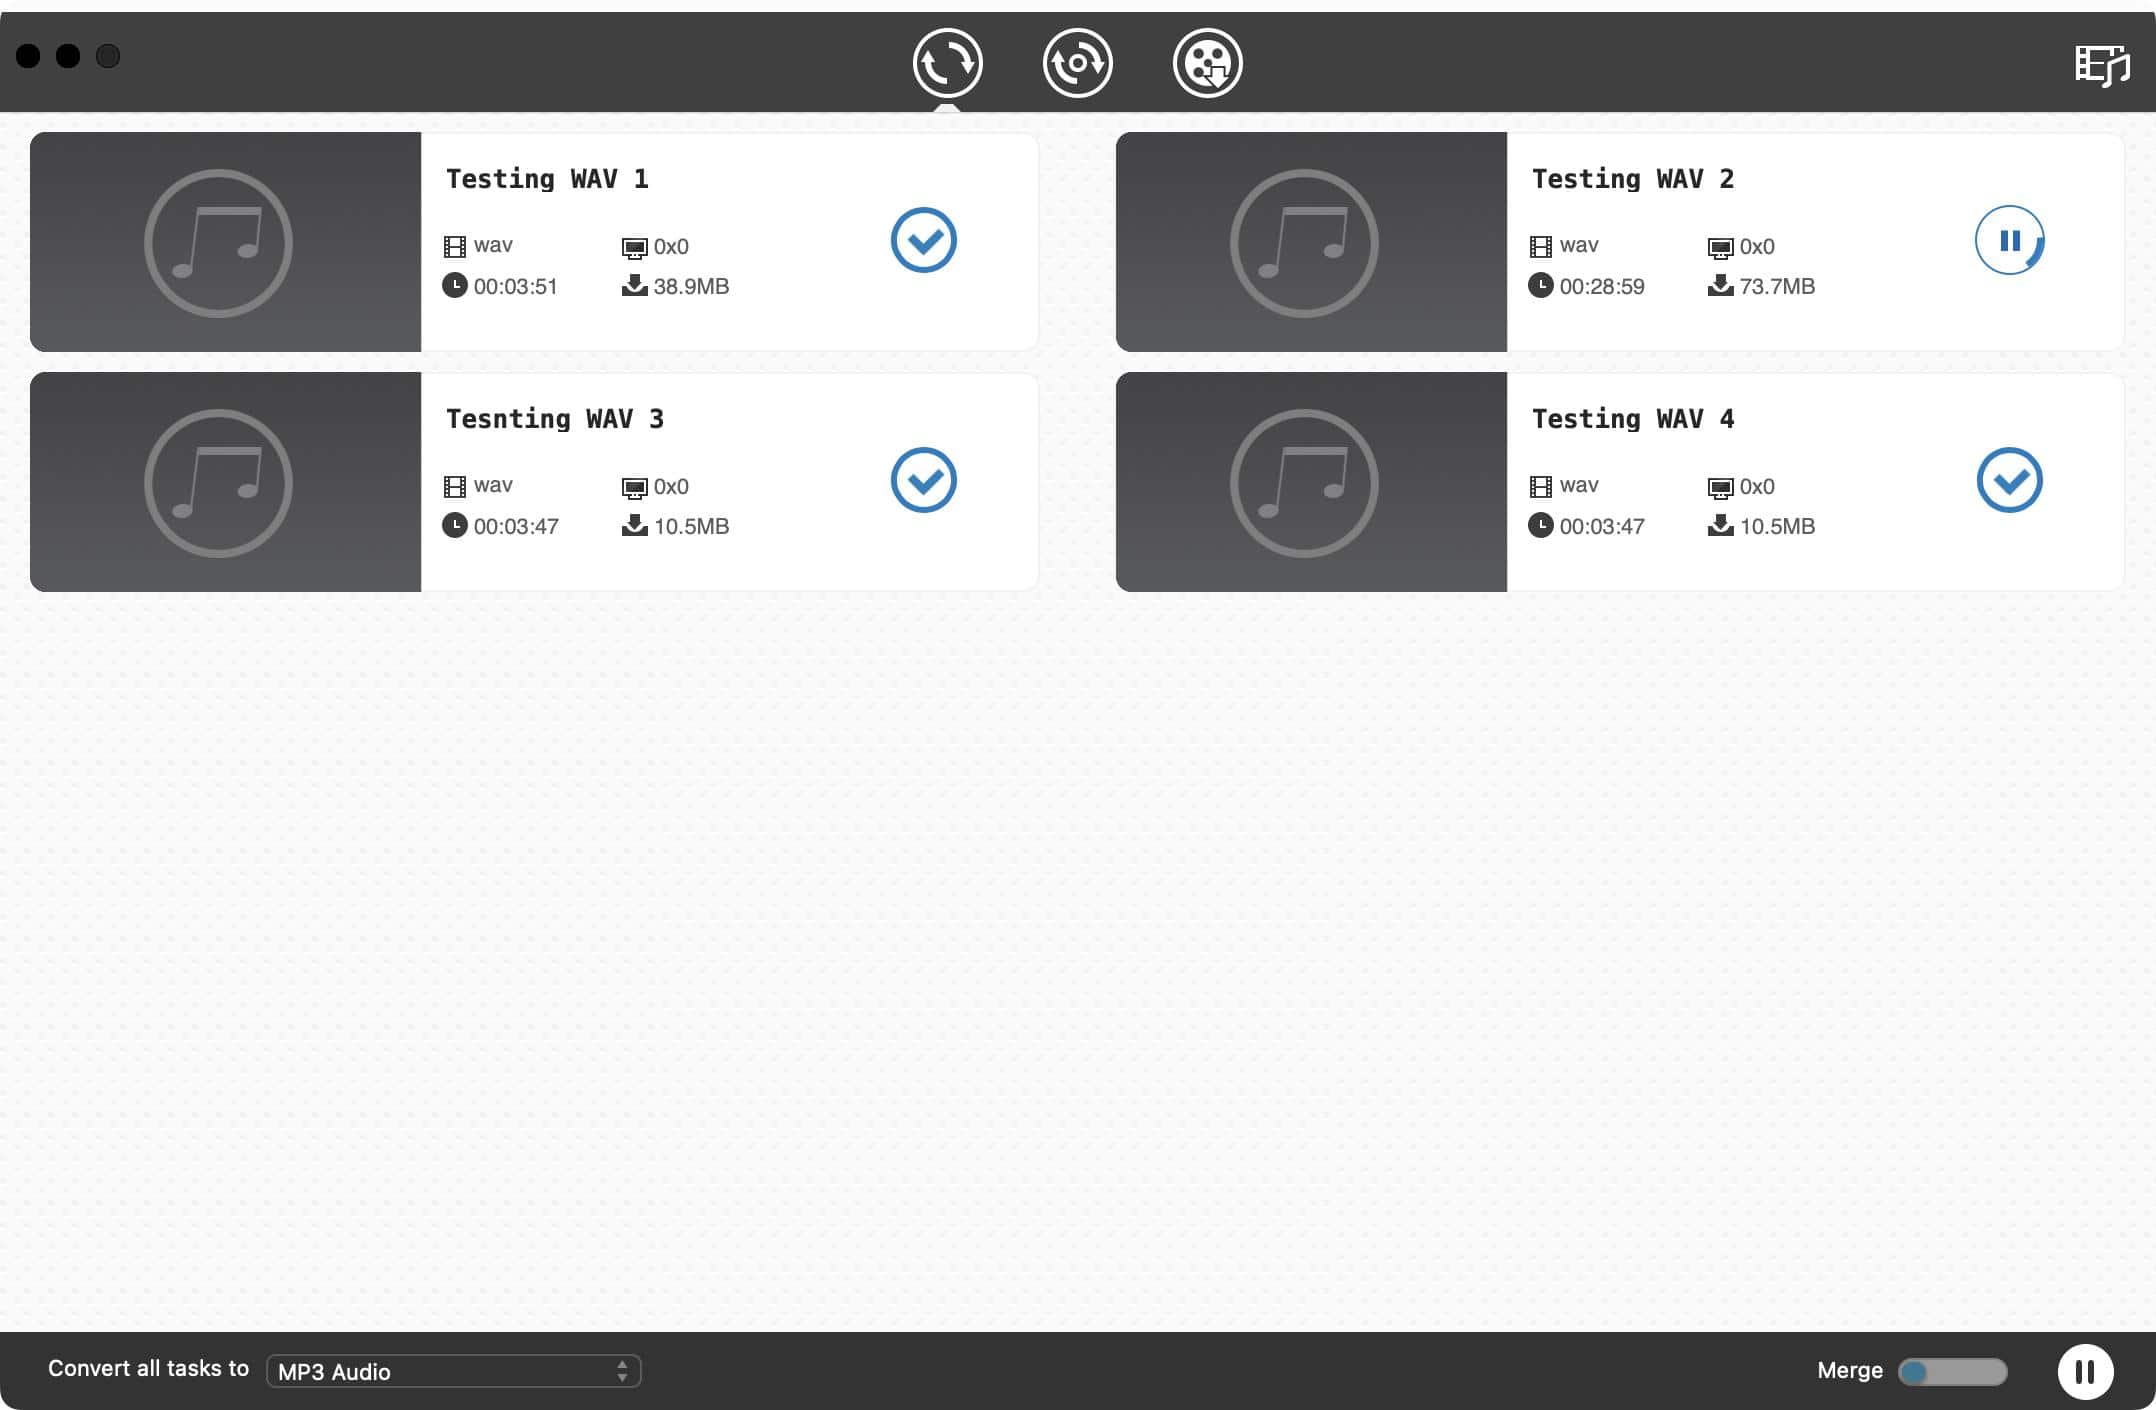
4. When all the audio files are set up, click the Convert button that sits on the bottom right to initiate the conversion. You can find the MP3 files in the specified folder or click the checkmark icon to locate them quickly.
Free Download macOS 10.11 or later Free Download Windows 11/10/8/7
Both WAV and MP3 are supported formats on Mac, so you can convert WAV to MP3 and vice versa in iTunes (now Music) without using a third-party app. It will create an MP3 version of the WAV file in your music library. iTunes has been integrated into Music since macOS Catalina, so here's a how-to guide for macOS 10.15+:

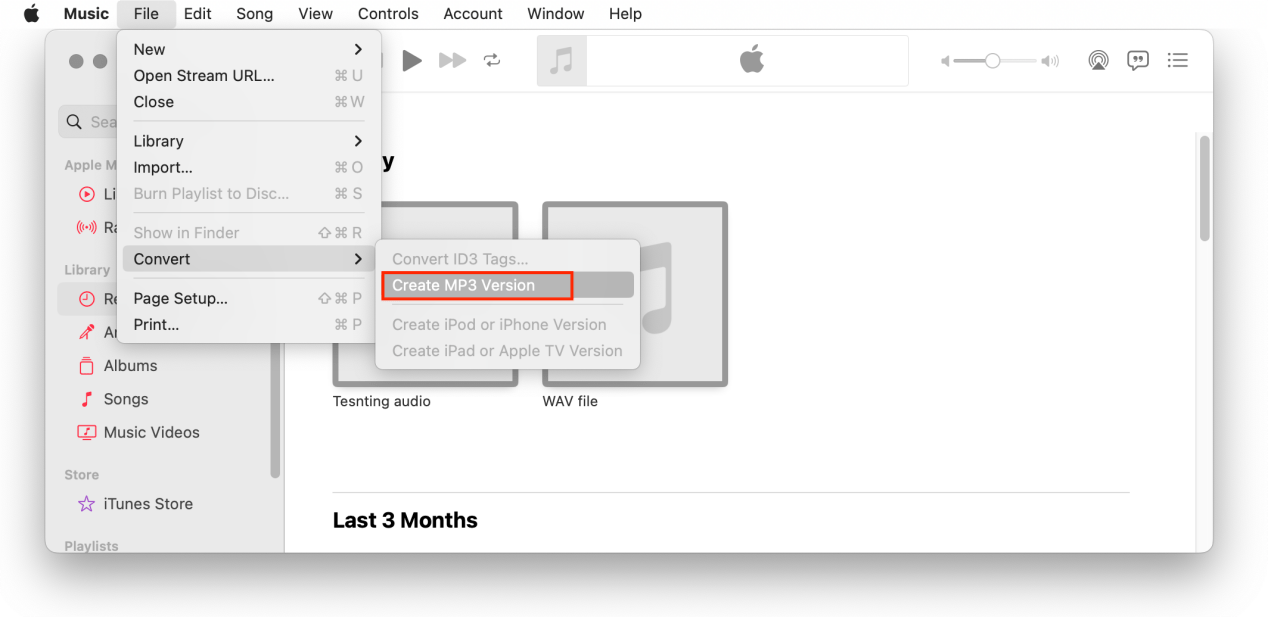
The converted MP3 files can be found in the Recently Added tab.
Pro tip: You can also utilize another built-in app called Automator to create a WAV to MP3 "workflow" for more efficient conversion. Click here to learn more.
FFmpeg is the Swiss army knife for media conversion. It allows you to convert WAV files to MP3 via one line of command and customize the output settings with a lot of FFmpeg options. It may look complicated at first, but once you've figured out its basics, it can be a handy tool.
1. Install FFmpeg. Visit FFmpeg download page and download the static builds for macOS 64-bit. When the zip file is downloaded, extract the ffmpeg binary to a directory of your choice.
2. Open the Terminal app, add the directory to the path variable. For example, if the FFmpeg file is in /Users/test/downloads, type and run:
3. Use the "-i" option to refer to the WAV file, and "-ab" to specify the audio bitrate. For example, if I want to convert WAV to MP3 at 320 kbps, type and run:

1. Use "-cd" to add the folder containing WAV files to the path, for example, cd desktop/wav.
2. Then copy and run the following command:
The output MP3 files will appear in the same folder of the original files.

Audacity is the world's most popular audio editing application, supporting various popular audio formats including WAV and MP3. Although it cannot do batch conversion like the other tools, it can preserve the metadata (title, artist, album, etc.) of WAV files after converted to MP3.
1. Download and install Audacity for Mac.
2. Launch Audacity, choose File menu > Import > Audio, then import the WAV file you want to convert.
3. Edit the WAV audio if necessary. (Optional)
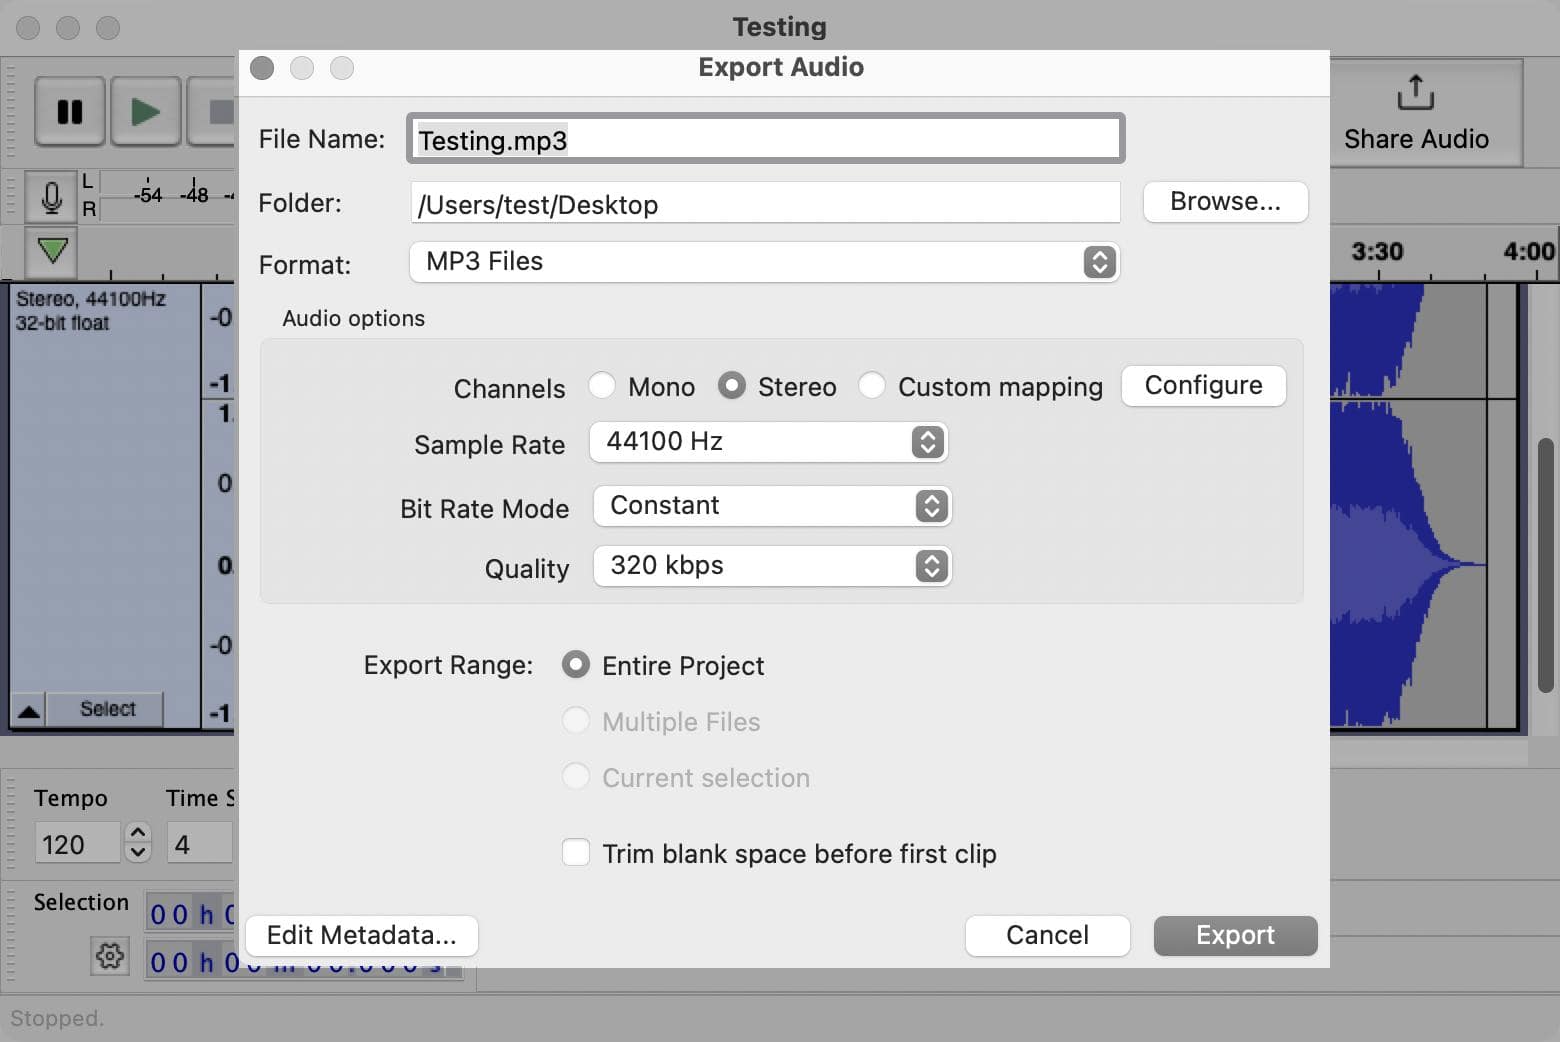
4. Go to the File tab again and click "Export Audio...", it will pop up a new dialogue box.
5. In the new window, define a file name, choose a path to save the output file, and select "MP3 Files" from the Format drop-down list. Select a desired kbps from the Quality list, and leave other options if you need. You can also click the button in the lower left corner to edit the metadata if necessary.
6. Click the "Export" button to start converting.
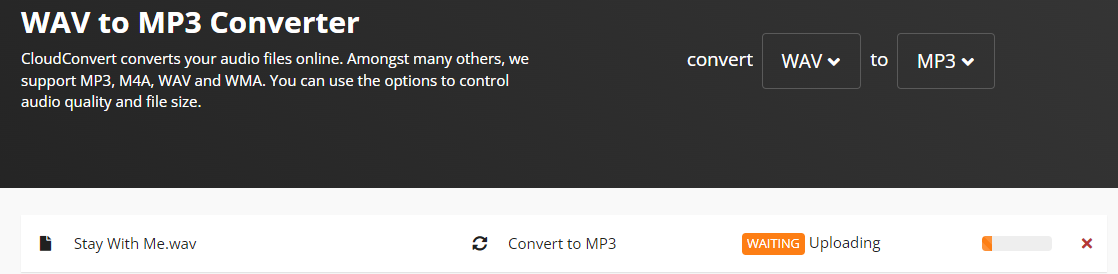
CloudConvert is an online converter site that offers options to control audio quality and file size just like desktop software. It contains no malicious ads and allows 25 free conversions per day. You can also buy conversion credits according to your needs.
Compared to other lossless audio formats, WAV has a wider compatibility, but the file size is huge. Follow the step-by-step tutorials in each method to convert WAV to smaller, higher-quality MP3 files on your Mac. To check the output audio quality, you can add the MP3 to the Music app on your Mac, right click on the file and select "Get Info" from the menu to view the parameters. I hope this guide helps!

Chloe LEE is good at explaining and solving complex technology problems to her readers. Since joining iFunia Studio, she has focused on writing articles about video and DVD software, and how-to tutorials.